Quick and easy pineapple upside down loaf cake
This pineapple upside down loaf cake is an easy two-layer dessert made with boxed cake mix, juicy pineapple rings, and maraschino cherries. With a buttery brown sugar topping and whipped cream filling between the layers, it’s a beautiful cake that’s perfect for holidays and family gatherings.
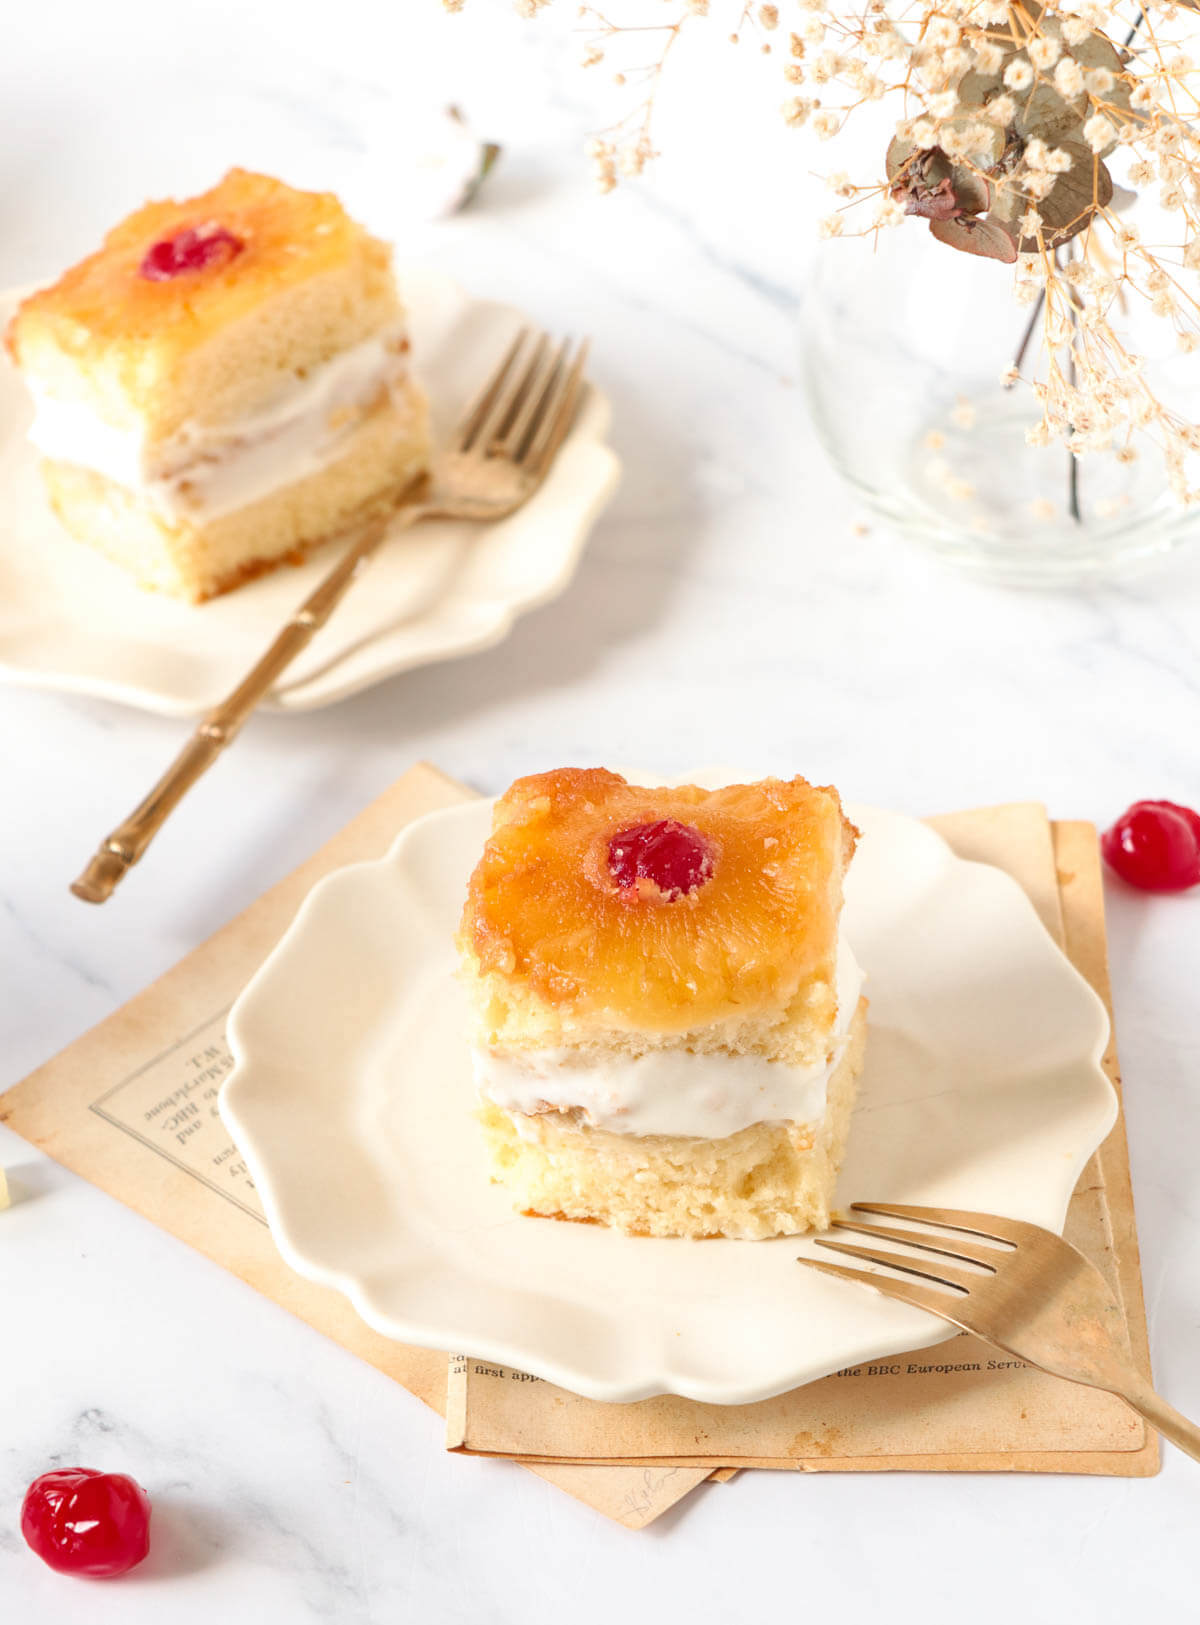
I think the first dessert cake I ever made by myself was a pineapple upside down cake. It was easy to make but looked so fancy that my classmates thought I was the baking queen. Little did they know! 😂
This pineapple upside down loaf cake takes that classic dessert and turns it into a two-layer cake with a creamy whipped cream filling. Made with boxed cake mix, pineapple rings, and cherries, it’s an easy way to make something special without spending hours in the kitchen.
It’s perfect for holidays, family gatherings, or anytime you want a dessert that looks like you did the most without actually doing the most.
How to make a pineapple upside down loaf cake
Ingredients
The only main point with ingredients for this cake recipe is to make sure that everything that was chilled originally is now at room temperature. This will create the perfect fluffy cake.
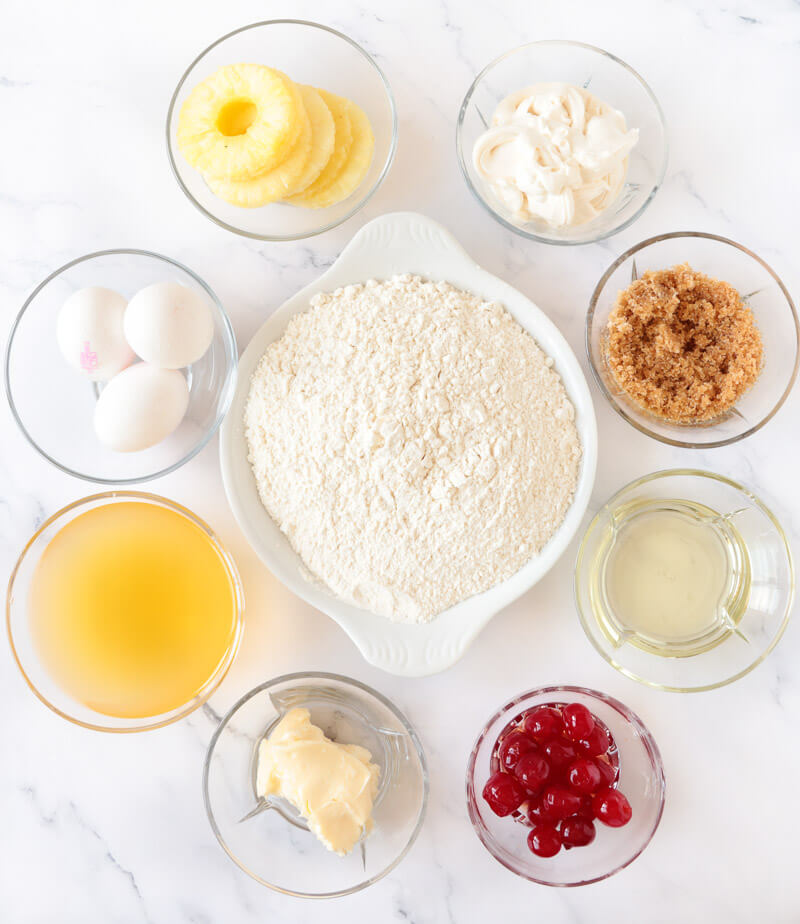
- Butter – you can use salted or unsalted butter.
- Sugar – I prefer to use brown sugar as it gives a nice color glaze to the cake. But if you only have granulated sugar, do not let that deter you.
- Pineapple juice – I’ve also substituted with orange juice or even used the pineapple juice from the pineapple slices.
- Canned pineapple rings – see substitutions below
- Maraschino cherries – see substitutions for cherries below
- Yellow cake mix box – I look for moist or extra moist cake mixes. Duncan Hines pineapple supreme cake mix is a great one to use.
- Cool Whip: I use thawed Cool Whip between the two cake layers. It makes assembling the cake easy and gives it a creamy filling without having to whip cream from scratch. Keep it refrigerated until you’re ready to assemble the cake.
Instructions
This cake, though easy since it isn’t fully from scratch, does require some parts to the process. I’m going to break it down for you in a way that made it easy for me to get through.
Prepare the pans
We want to get our pans ready for the batter and also for our toppings of pineapple.
- Melt the butter, then divide it evenly between the two pans. Along with also dividing the brown sugar mixture between the two pans and sprinkle it over the butter.
- Then place your pineapple rings.
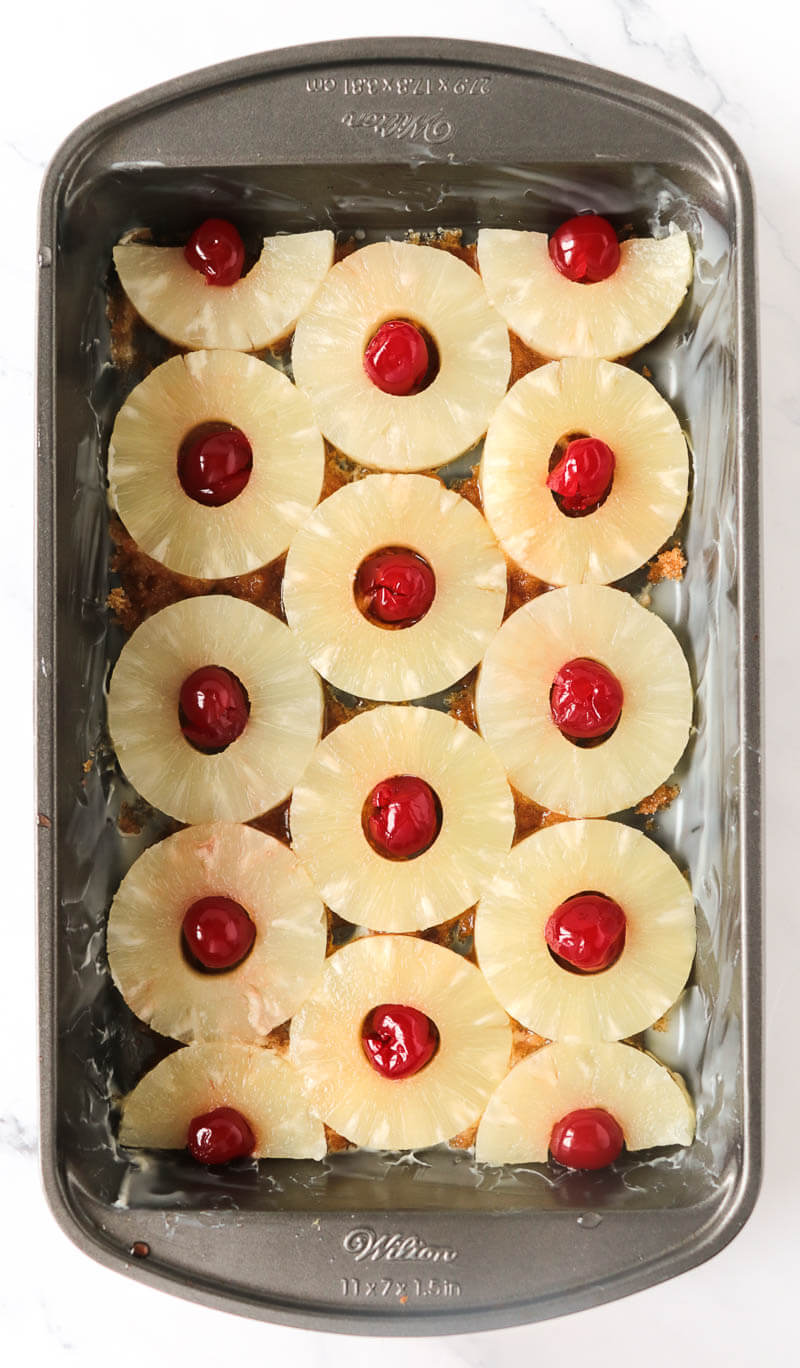
- Since this is in a loaf pan, place the pineapple slices down the center of the pan initially, then fill the spaces on the sides with more rings or half rings if needed.
- Place the cherries in the center of rings and half rings. Some people like to cut the cherries in halves and put the cut side down. But I prefer to use whole cherries.
- Also, set your oven to 350 to preheat.
Prepare the cake batter.
- In a medium bowl, mix together your cake mix, eggs, juice, and oil. We want to make this smooth, but we don’t want to overmix the batter. You do not want a dry cake.
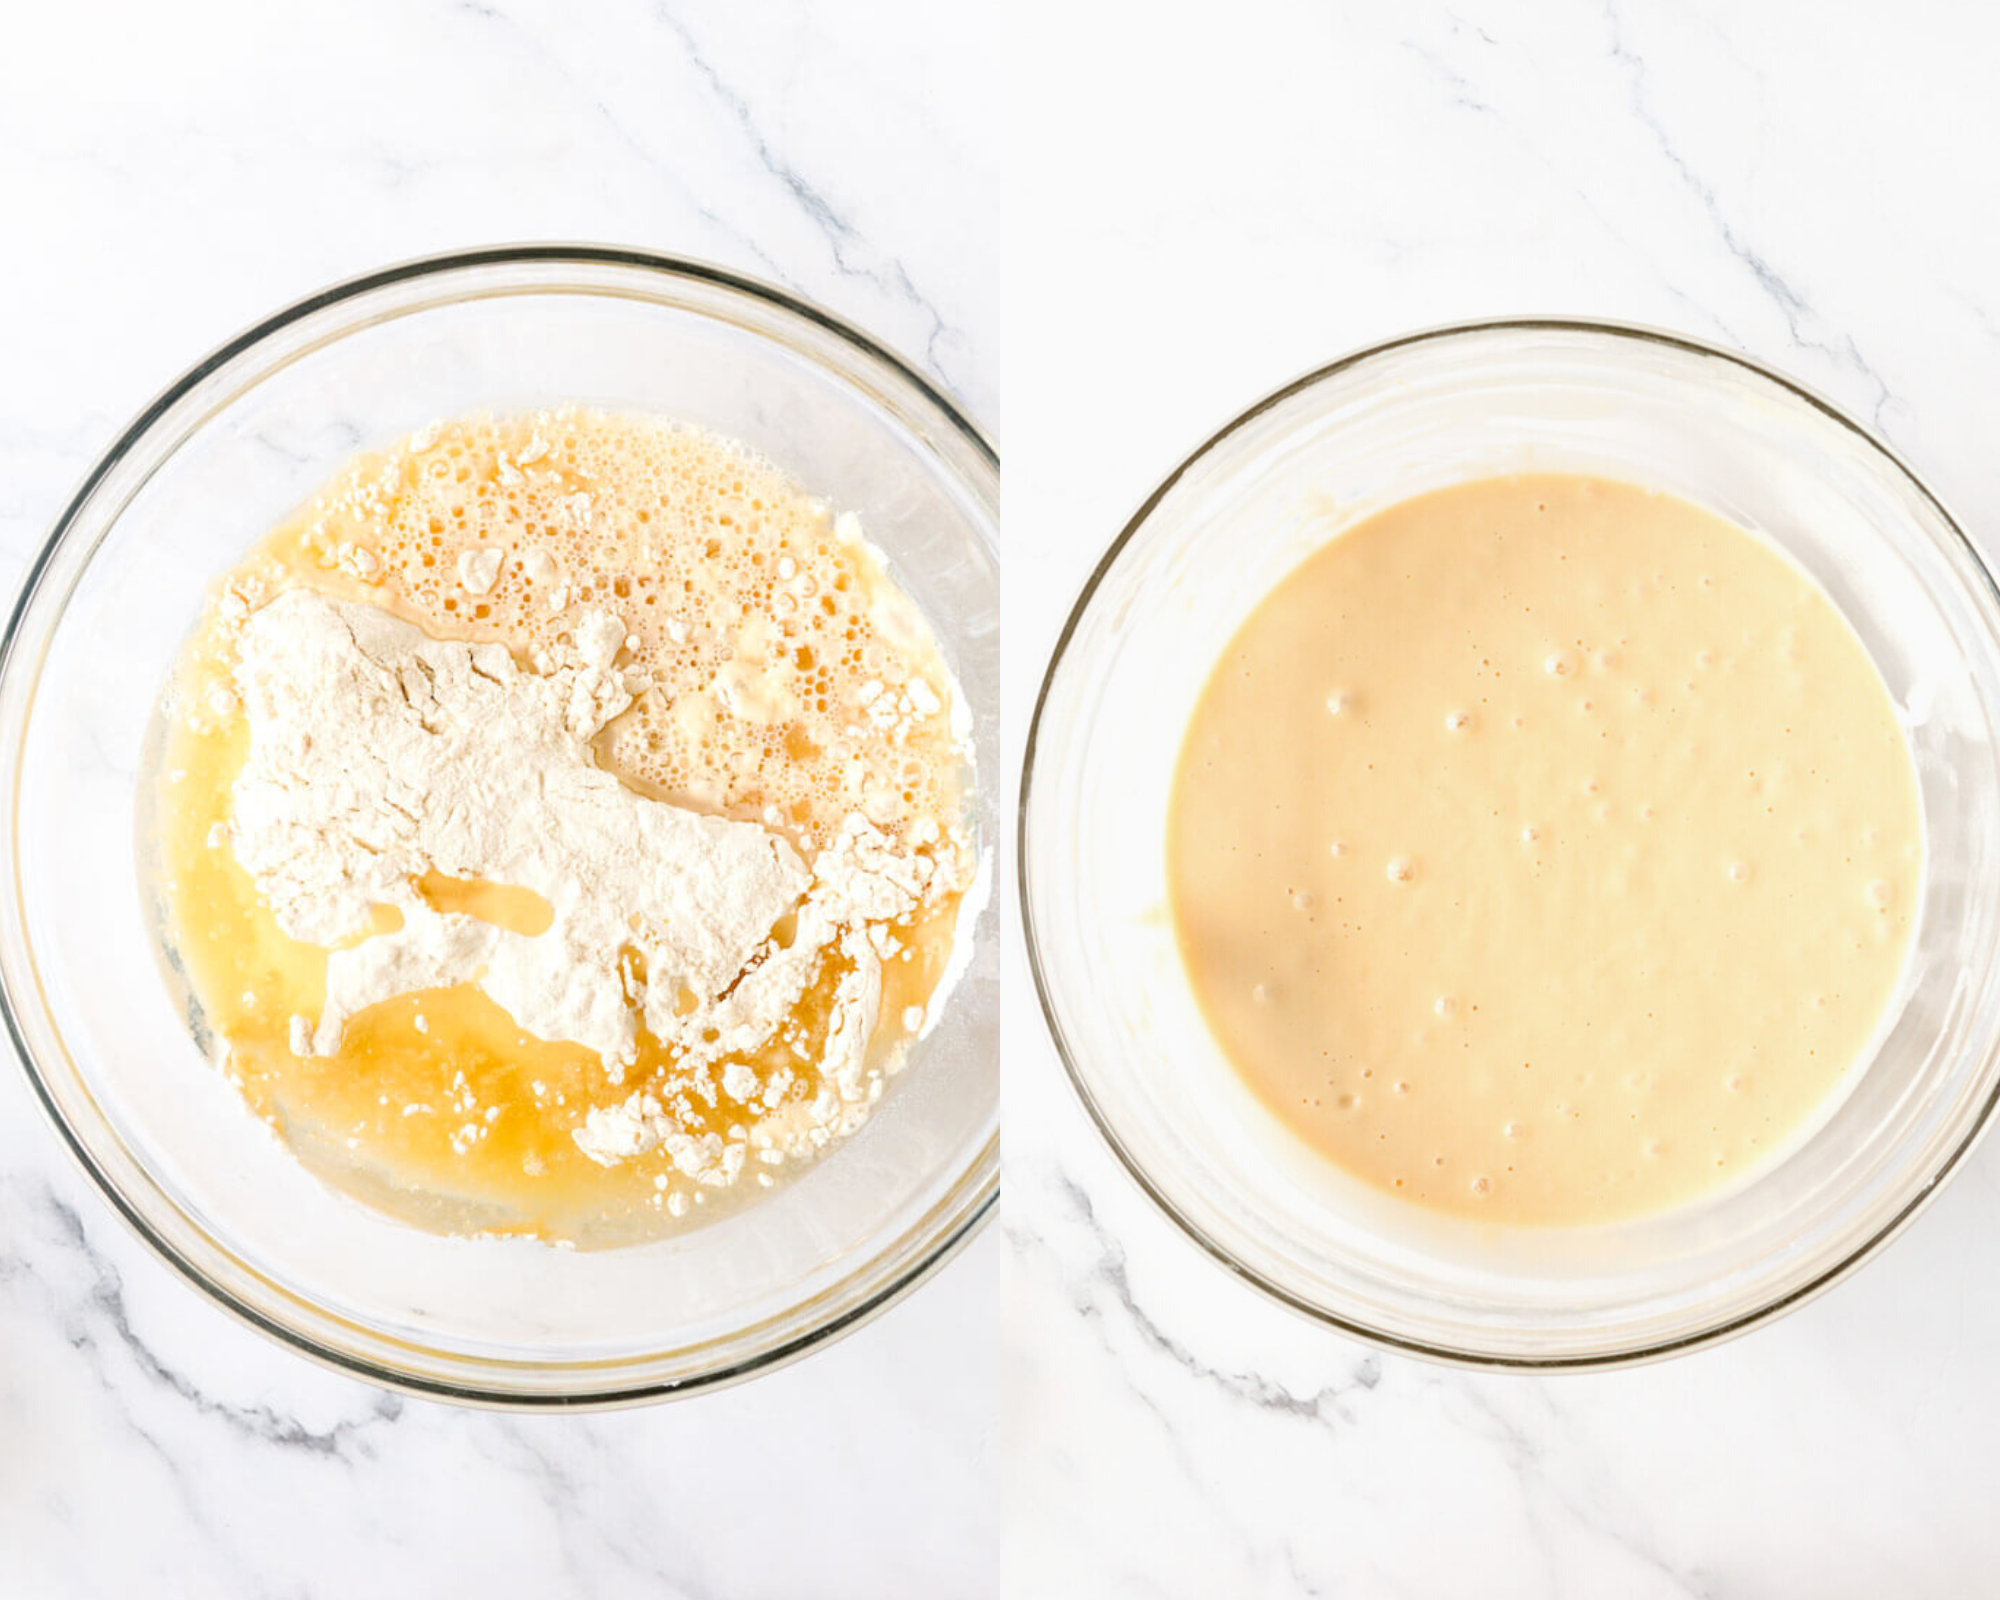
- Divide the batter evenly so that it can be shared between the two pans. Pour the cake batter over the pineapples and spread the top as evenly as possible.
- Do not fill the pans all the way to the top.
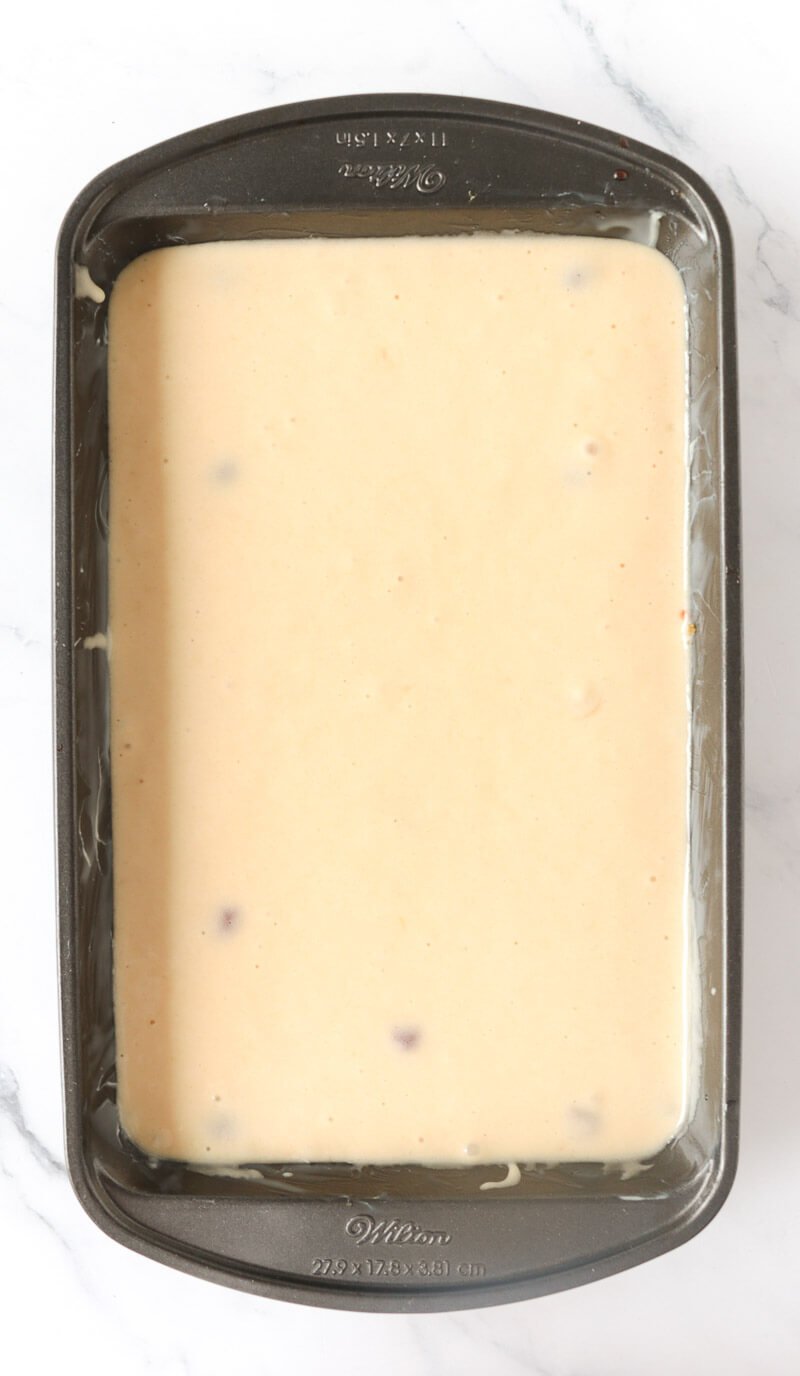
Bake & remove cakes
- We are going to bake these for about 30-35 minutes. Place in your preheated oven on the middle rack.
- The cakes are ready when the edges begin to pull away from the pans, the tops spring back lightly when touched, and a toothpick inserted into the center comes out clean or with a few moist crumbs.
- Once done, let the cake cool for about 15 minutes. Once cooled enough, flip the cake pans and remove the cakes. Leave them to continue to cool on the racks.
Layering and finishing cakes
- Once the cakes are at room temperature, now for you to decide which one is going to be the top layer.
- As much as we want to think both cakes will be perfect, that does not always happen. I would make the best-looking cake the top layer.
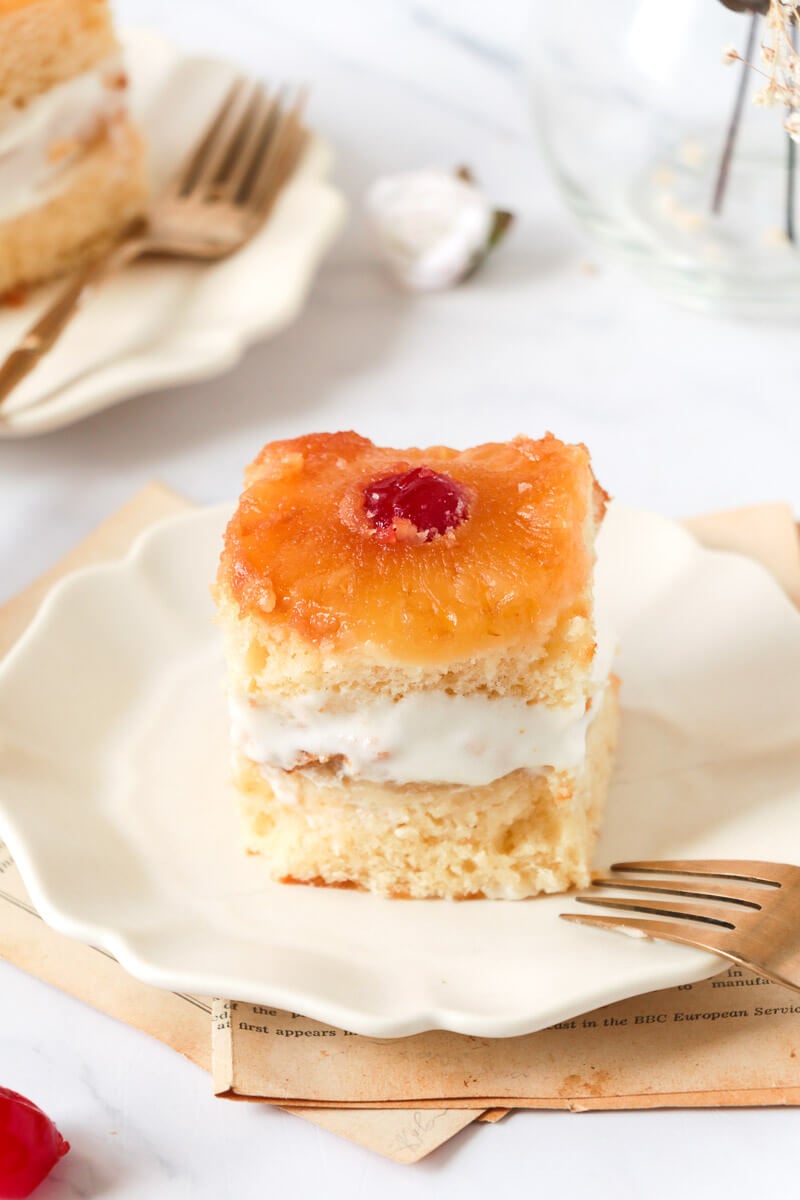
- Place your base on a cake stand or on a cake plate. At this time, take the whipped crème and use it to cover the top of the base cake evenly.
- You can make it as thick as you like, but remember that when you place the top layer, it will push it down.
- Now, GENTLY take the other cake and place it on top of the whipped layered base cake.
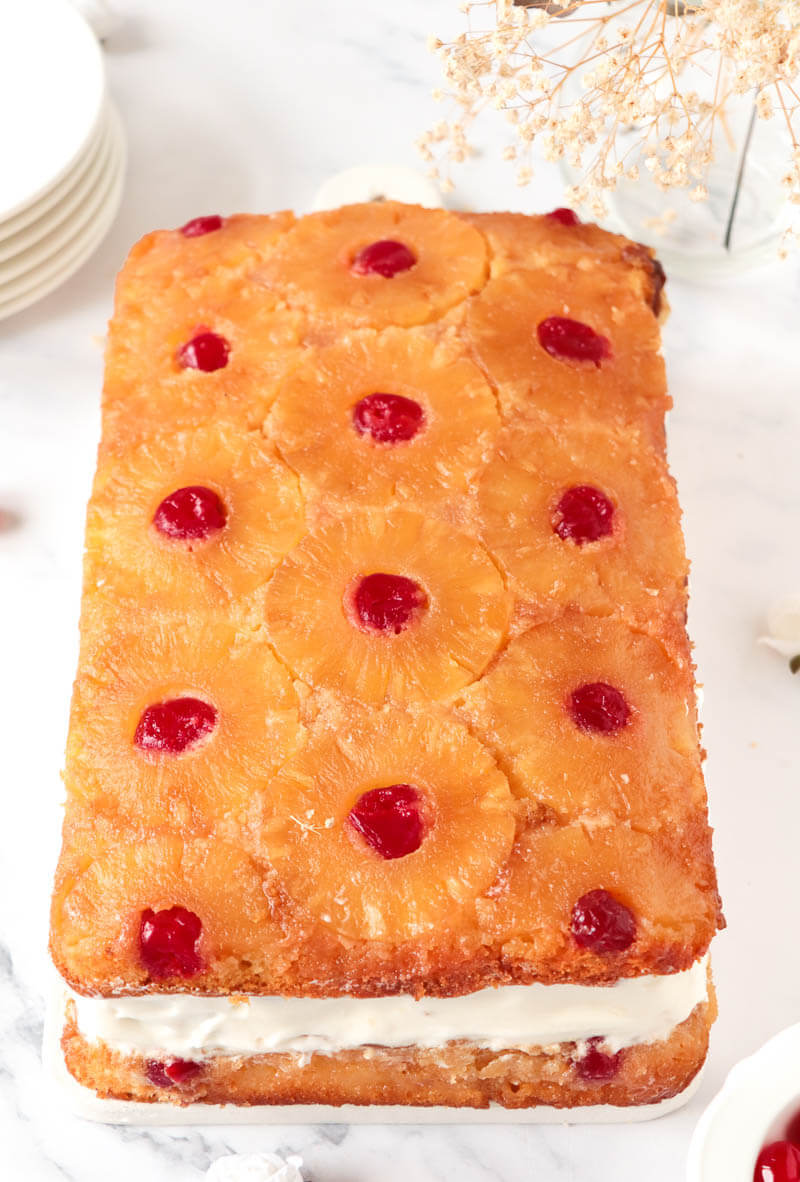
Tadaah!
Now my cake top is plain, but you can decorate the top layer if you wish. Place some more whipped crème on the top of the baked cake in segments, and you can also decorate around the bottom edges of the base cake.
What to eat with layered pineapple cake
This can be eaten cold or at room temperature. Whatever your choice.
It’s great by itself but is also amazing with a scoop of some type of ice cream. I love it with “white” ones with mild flavors like vanilla or soursop.
Storage
Once the cakes have cooled and you’ve added the Cool Whip filling, refrigerate the assembled cake until you’re ready to serve. This also helps the filling firm up between the layers.
Store leftovers covered or in an airtight container in the refrigerator for up to 3–4 days. For the best texture, I recommend serving it within the first 1–2 days.
You can make the cake a day ahead and keep it refrigerated until serving. Don’t leave the assembled cake at room temperature for more than 2 hours.
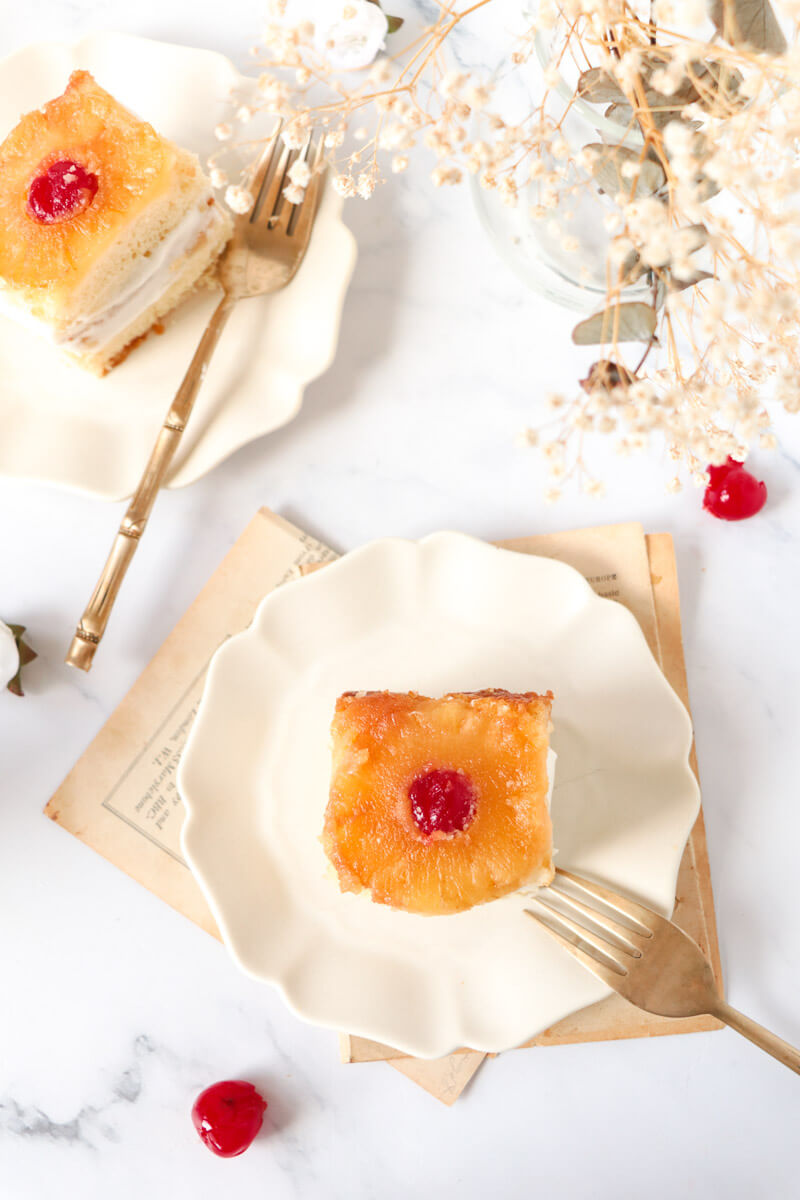
Substitutions & Additions
- Add some additional spices to the batter, like nutmeg and cinnamon, to give an extra layer of flavor.
- Coconut flakes: You can use this in the middle of the cake on top of the whipped crème and as a topping on the top layer.
- If you don’t have maraschino cherries, you can use dried red cherries instead.
- Instead of pineapple rings, try using crushed pineapples or pineapple chunks. Or you can alternate.
- Sometimes I mix the melted butter and brown sugar before dividing it between the pans. Either method works for preparing the pineapple topping.
- Try different flavored cake mixes.
- Add additional flavor by caramelizing the pineapples before adding it to the base of the cake.
Tips & Tricks
- Make sure to drain all the liquids from the pineapple. I put them in my strainer before using them so that all excess liquid can drain off.
- Do not grease your pans. This cake is already moist. Or at least don’t grease the bottom that is getting the butter and sugar mixture.
- Having a preheated oven at the right temperature for at least 10 minutes will help bake the cake perfectly.
Method to remove cake from pan
I know we sometimes get impatient with this and mess up taking the cake out of the pan. I’ve had my cake come out and the topping left behind.
A little patience goes a long way.
- Make sure that you let the cake cool for a bit in the pan before you attempt to take it out. This lets the butter mixture cool and hold the rings and cherries better.
- Use a butter knife and just run it around the edges of the cake pan to help release anything that might be stuck.
- When you turn the cake pan over, leave it for a little rest to let anything that has moved settle back a bit.
- Give the bottom of the inverted pan a few gentle taps to help release any parts of the cake that may still be stuck.
- Slowly bring the pan up as straight as you can.
More pineapple recipes
Frequently Asked Questions
Too much moisture from the pineapple can make the cake soggy. I’ve had this happen when I didn’t drain my pineapple rings properly. Now I let them sit in a colander to remove the excess liquid before arranging them in the pans. Also, make sure the cake is fully baked before removing it from the oven.
Yes! You can make this pineapple upside-down loaf cake a day ahead. Once the cakes have cooled completely, assemble them with the Cool Whip filling, cover, and refrigerate until you’re ready to serve. Keeping the cake chilled helps the filling hold its shape between the layers.
Other cakes to add to your dessert list
Recipe
Pineapple upside down loaf cake
Ingredients
Method
- Preheat your oven to 350°F (175°C).
- Take the butter and melt it, and divide it into two evenly.
- Add to the bottom of each pan.
- Divide the sugar, and sprinkle across the two pans evenly.
- Place pineapple rings on top of the butter mixture. (You may have to cut some rings to get placement all over the pan) See notes for how I placed mine.
- Add cherries to the middle of the pineapple rings.
- In a separate bowl mix cake mix with oil, juice, and eggs, until smooth. Do not overmix.
- Then divide the batter between the two pans and spread evenly.
- Bake for 30–35 minutes, or until the cake springs back lightly when touched and a toothpick inserted into the center comes out clean or with a few moist crumbs.
- Cool cake in pans for about 15 minutes.
- When cool remove from pans and continue to cool on rack till at room temperature.
- Decide which cake is your base cake.
- Place that on a plate or cake stand.
- Take whipped cream and cover the top of that base cake evenly and as thick as you like.
- Gently take the other cake and place it on the base.
- You can leave the top plain or decorate it with more whipped creme and cherries if desired.
- You can place it in the fridge to continue to hold before serving.
Nutrition
Notes
Recipe Printed From ThisBagoGirl.com