Cassava Flour Pancakes Recipe – Easy, Fluffy & Gluten-Free
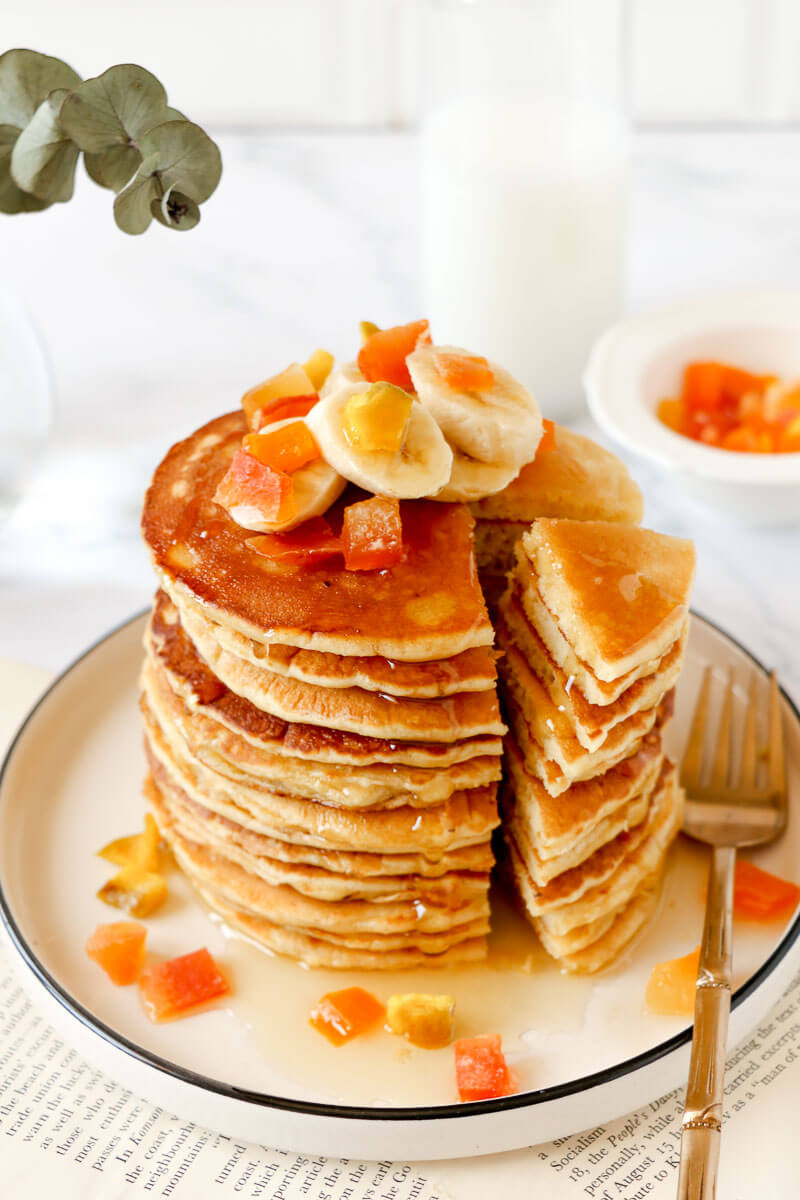
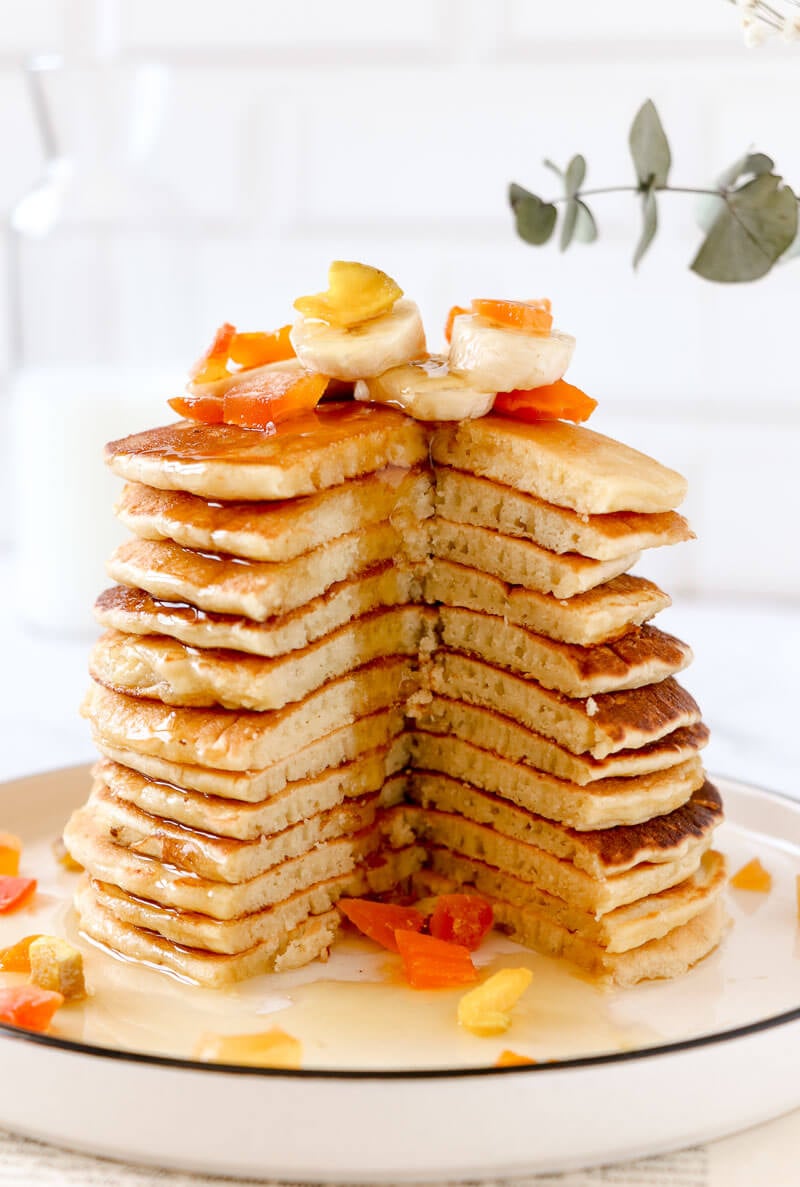
Looking for a new gluten-free breakfast idea? These soft, fluffy cassava flour pancakes are an easy alternative to traditional pancakes. No grating of cassava required. Just stir, cook, and top with syrup or fresh fruit for a Caribbean-style brunch you’ll want on repeat.
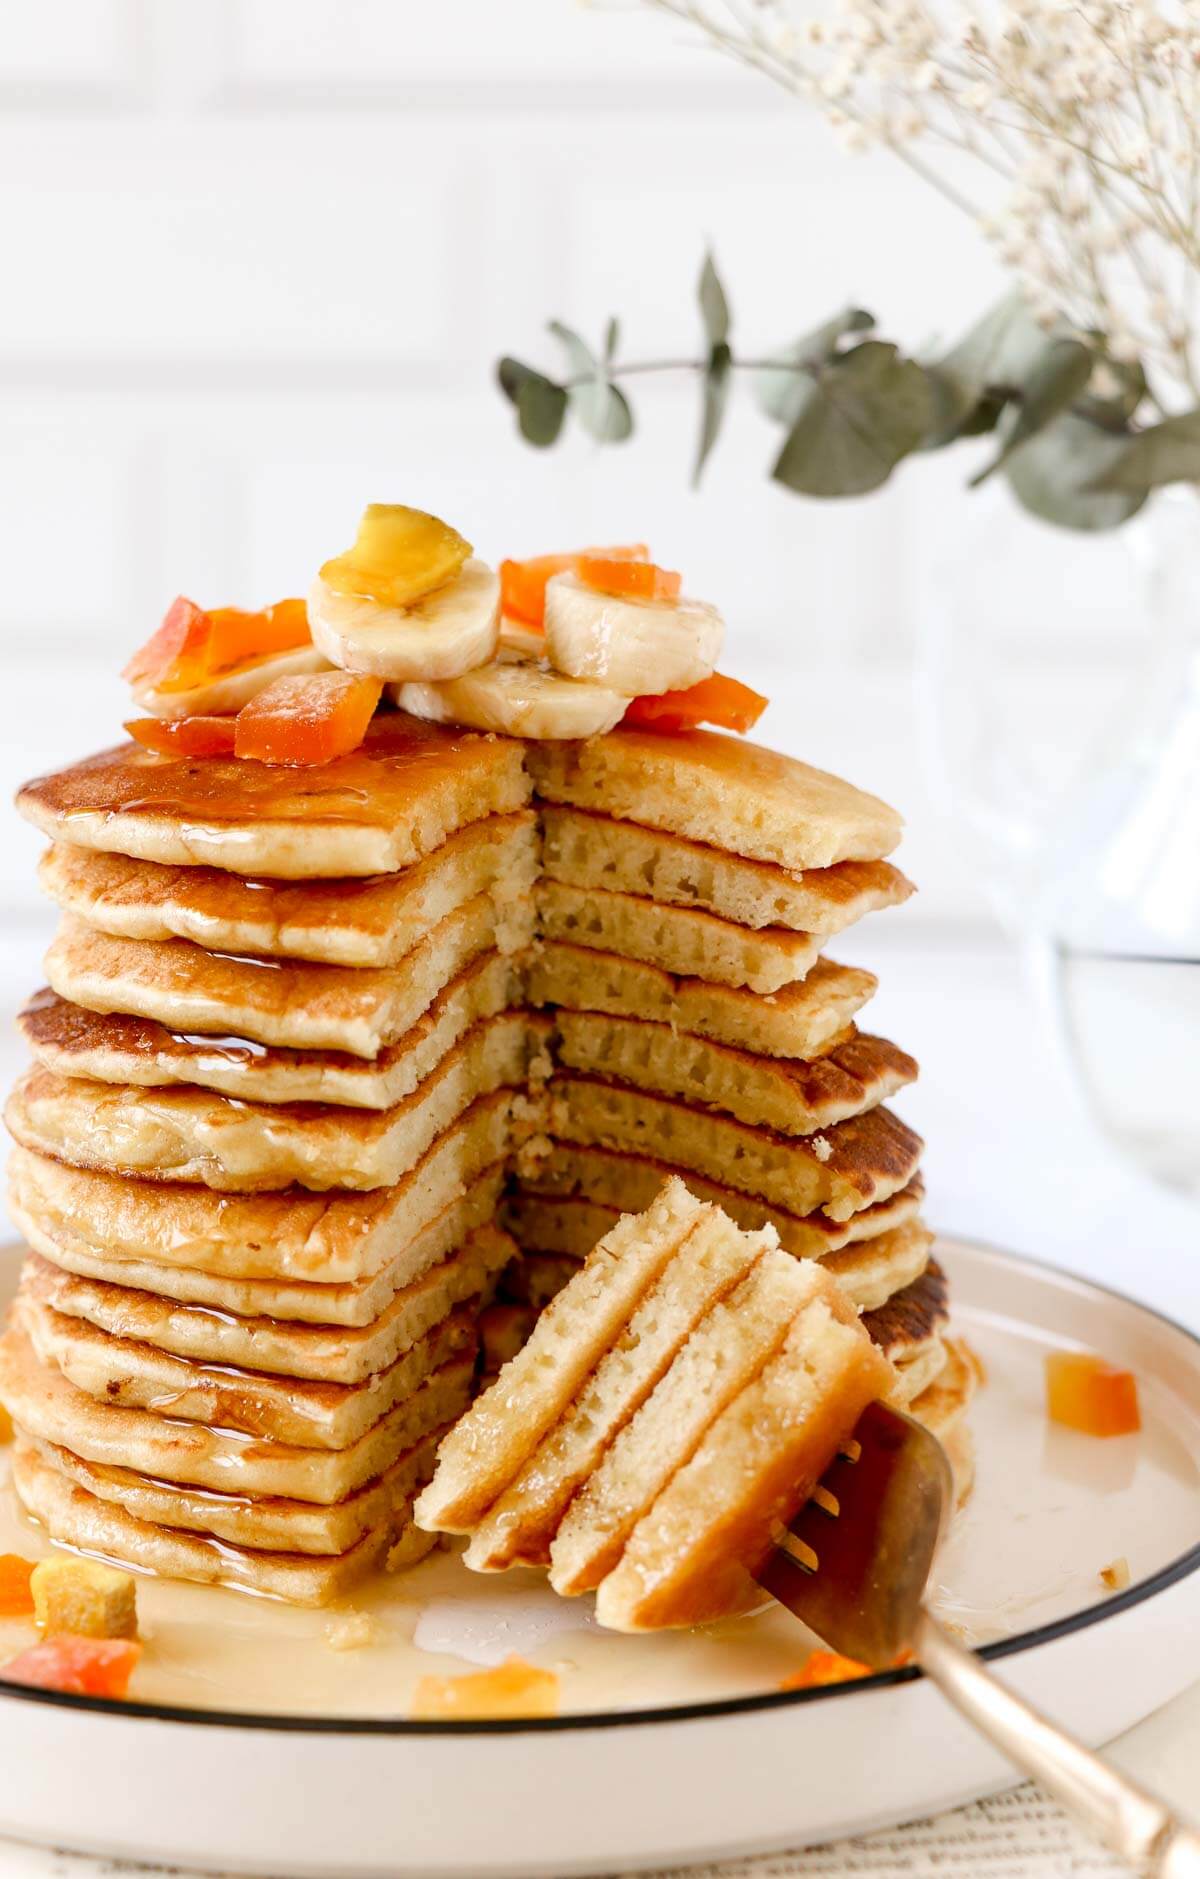
You already know ground provision is a big deal in Caribbean cooking. We boil it, mash it, add it to soups, bake it, and now we’re flipping it into pancakes. Using cassava flour instead of grated cassava makes these pancakes easy to put together while giving breakfast a little Caribbean influence.
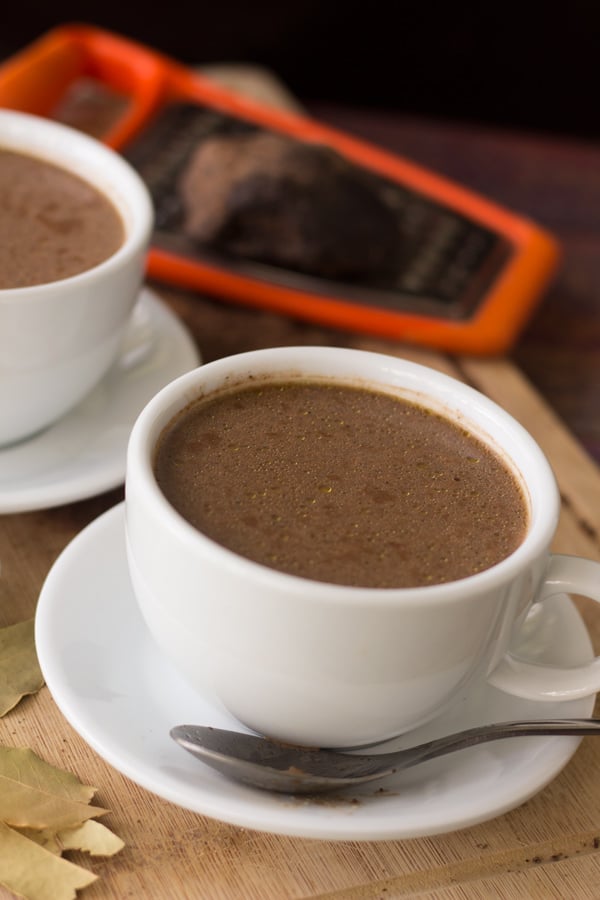
Add some maple syrup, your favorite fruit, and a hot cup of cocoa tea, and breakfast is ready.
Ingredients for cassava flour pancakes
You only need a handful of ingredients to make these pancakes. Cassava flour is the main one to pay attention to since different brands can absorb liquid differently.
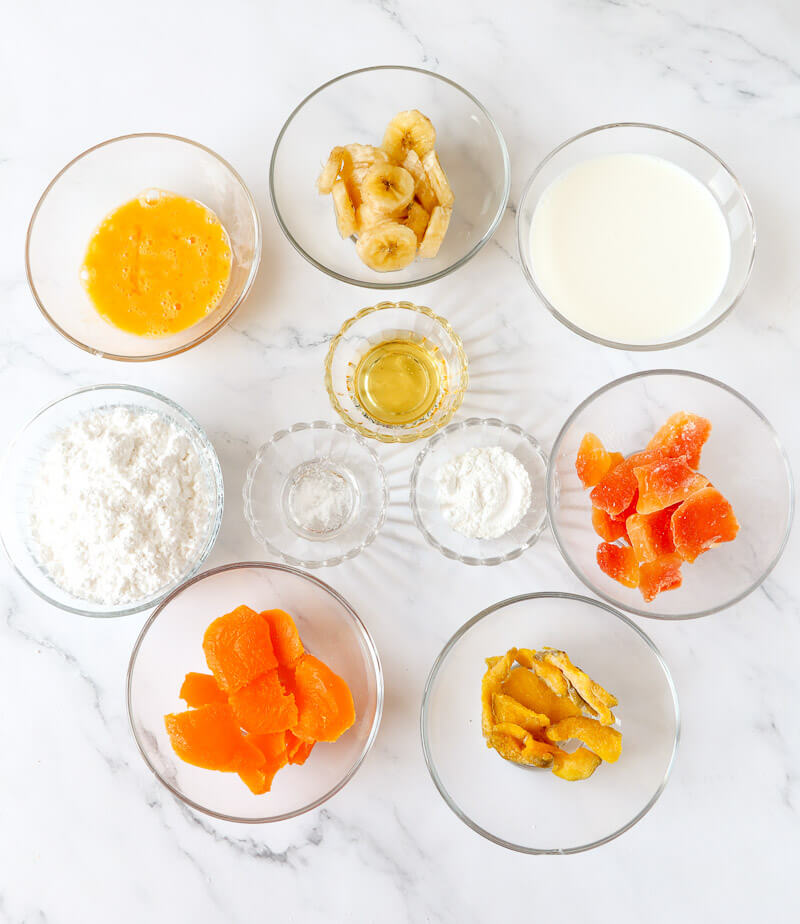
- Cassava flour: I get the best texture with Otto’s cassava flour. I’ve also tested Bob’s Red Mill, but found the batter a little trickier to work with.
- Baking powder: Helps the pancakes rise and gives them a lighter texture.
- Egg: Helps bind the batter.
- Whole milk: My usual choice, but coconut milk also works if you want a dairy-free option.
- Honey: Adds a little sweetness. You can substitute maple syrup or sugar.
- Vanilla extract: For flavor.
- Coconut oil: Optional, for a little added richness.
- Salt: Balances the sweetness and flavor.
How to make cassava flour pancakes
- Mix the dry ingredients. In a medium bowl, whisk together the cassava flour, baking powder, and salt.
- Whisk the wet ingredients. In another bowl, beat the egg, then mix in the milk, honey, vanilla extract, and coconut oil (if using). This will smell amazing—don’t drink it though, focus.
- Combine the batter. Make a well in the dry ingredients, pour in half the wet mixture, and gently stir. Add the rest and stir again, just until combined. Don’t overmix. The batter should be thick but still easy to pour.
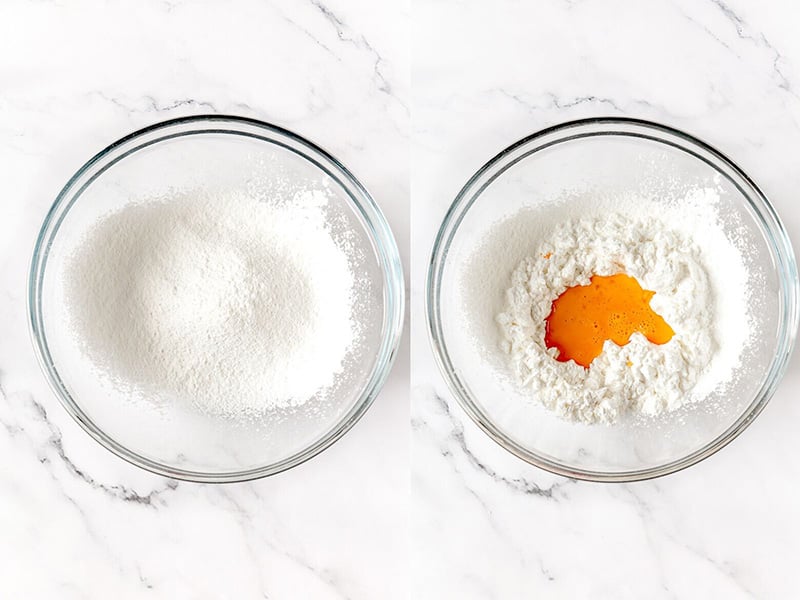
- Let the batter rest. Let it sit for about 5 minutes. This gives the cassava flour time to hydrate and makes the pancakes cook up softer.
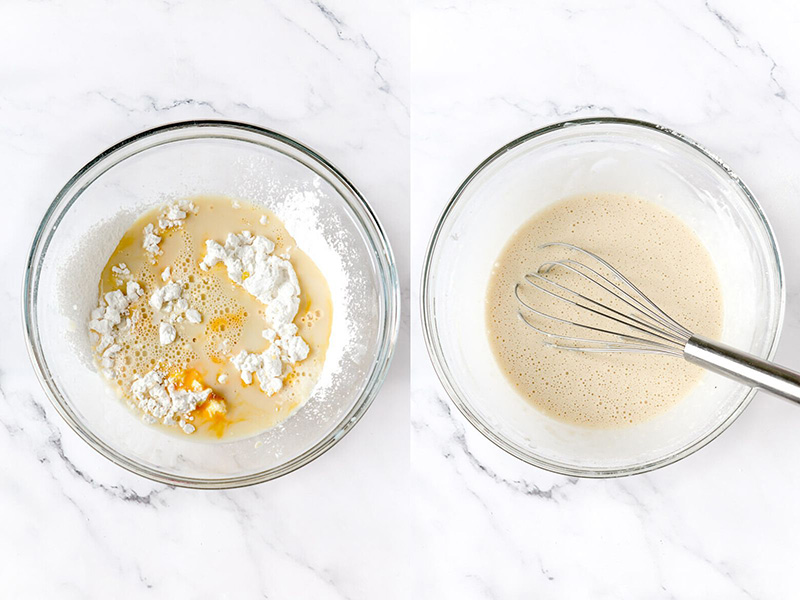
- Cook the pancakes. Heat a lightly oiled nonstick pan or griddle over medium heat. Once hot, drop in about ¼ cup of batter per pancake and gently spread it out.
- Cover and wait for bubbles. Cover the pan (yes, trust me!) and cook until bubbles form on the surface and begin to pop without filling back in. That’s your cue to flip.
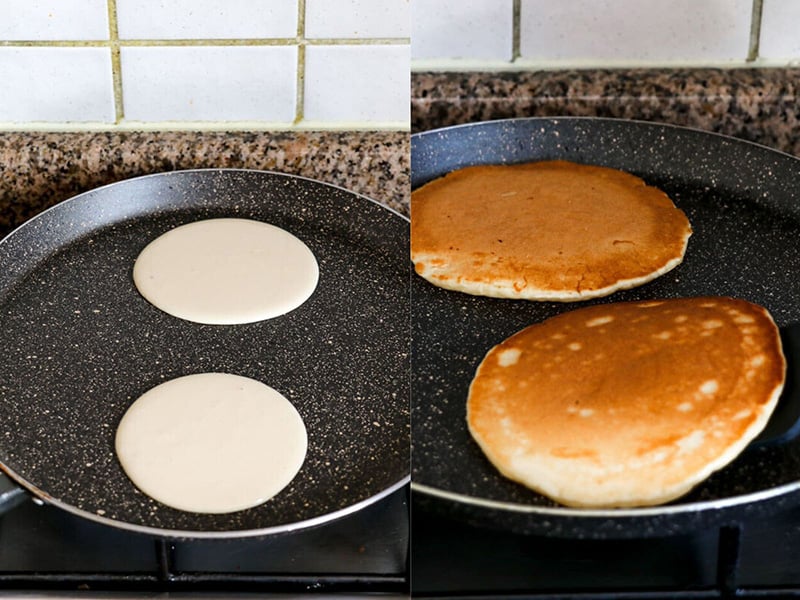
- Flip and finish. Carefully flip the pancake and cook for another 1–2 minutes until golden brown on both sides. Repeat with the rest of the batter.
- Serve. Stack, top with fruit and syrup, and serve hot.
Tips for the best cassava flour pancakes
Take it from someone who’s burned a few pancakes getting this right. Here’s what I’ve learned so you don’t have to learn the smoky way:
- Watch the heat: Don’t crank the heat too high just to get things going. Medium or even medium-low is your friend. Too much heat can leave you with a burnt outside and an undercooked middle.
- Don’t overmix: Mix just until the batter comes together. Overmixing can give you denser or gummy pancakes. A few small lumps are fine.
- Pay attention to the batter: Cassava flour can absorb liquid differently depending on the brand. I get the best results with Otto’s, so don’t be surprised if the consistency varies slightly with another brand.
- Let the batter rest: Give it about 5 minutes before cooking. This allows the cassava flour to hydrate and helps give you a more consistent texture.
- Go light on the oil: A good nonstick or seasoned cast-iron pan doesn’t need much. I usually wipe a little oil onto the pan with a paper towel.
- Wait for the bubbles: Don’t flip too early. Cover the pan and wait until bubbles form on the surface, pop, and don’t immediately fill back in. That’s when it’s ready to flip.
Best toppings for cassava flour pancakes
Now comes the fun part. These cassava flour pancakes are good on their own, but toppings are where you can have a little fun.
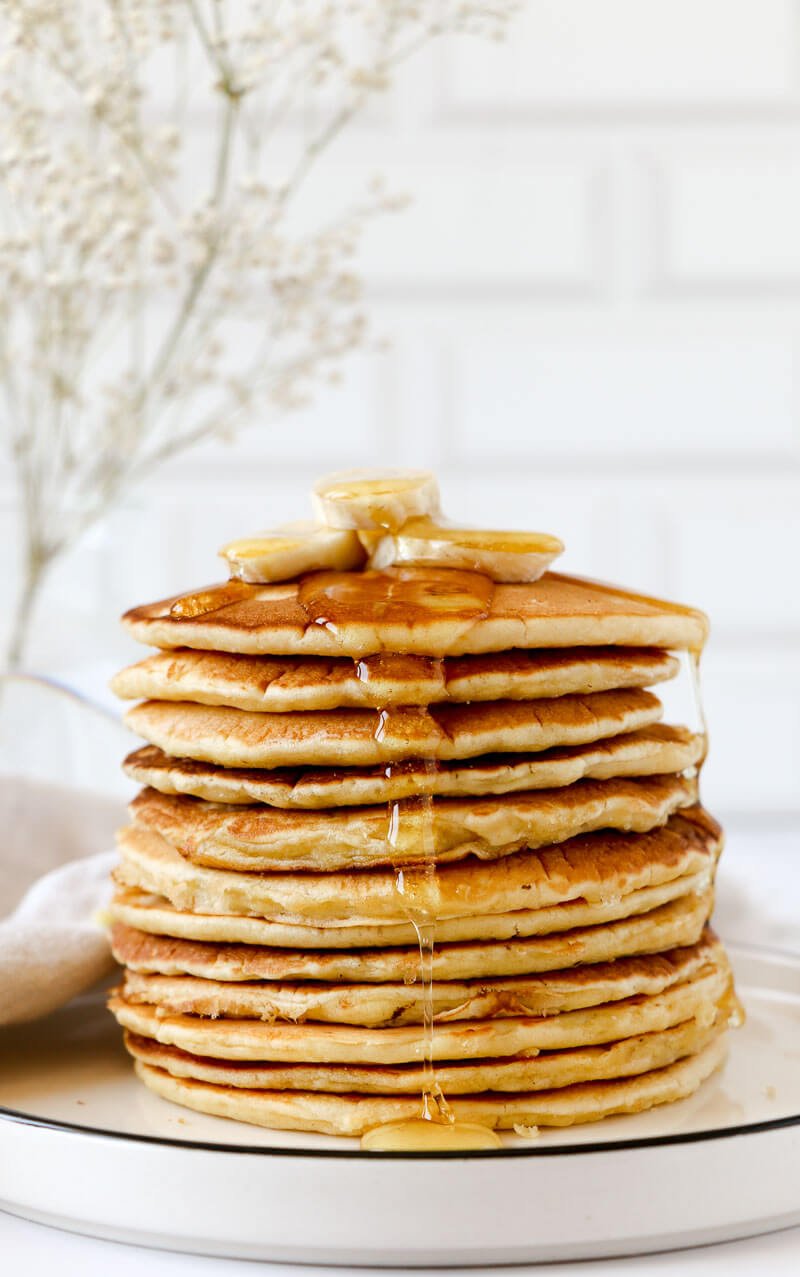
Some of my favorites are:
- Tropical fruit: Try ripe mango, sliced banana, papaya (paw paw), coconut, or even soursop when you can get it.
- Chocolate chips: Sprinkle dark chocolate chips over the warm pancakes and let them get a little melty.
- Toasted coconut: Toast coconut flakes in a dry pan for a little extra crunch and flavor.
- Fruit compotes or jam: Try blueberry or strawberry compote, fruit syrup, or a spoonful of my guava jam.
- Maple syrup or honey: Keep it classic, or add a little cinnamon or nutmeg to your syrup for extra flavor.
How to store and reheat cassava flour pancakes
Let leftover pancakes cool completely, then store them in an airtight container in the refrigerator for up to 3 to 4 days. If you’re stacking them, place parchment paper between the pancakes to keep them from sticking together.
For longer storage, freeze the pancakes with parchment between each one in a freezer-safe container or bag.
To reheat: Microwave refrigerated pancakes in short bursts until warmed through. Frozen pancakes can be reheated straight from the freezer, or warmed in a toaster or toaster oven if you prefer the edges a little less soft.
More cassava recipes
Looking for more ways to cook with cassava? Check out my collection of cassava recipes, or try one of these favorites:
Frequently Asked Questions
Yes. Coconut milk works well and adds a little coconut flavor. Unsweetened almond milk can also be used.
Cassava flour can absorb liquid differently depending on the brand, so batter consistency matters. Avoid overmixing, let the batter rest for about 5 minutes, and cook the pancakes over medium to medium-low heat so the centers have time to cook through.
Yes. Cassava flour is naturally gluten-free and grain-free. If you need the entire recipe to be gluten-free, check the labels on your other ingredients and toppings as well.
Yes. Rather than storing the batter, cook the pancakes ahead and refrigerate them for up to 3 to 4 days. You can also freeze them for longer storage and reheat them when you’re ready to eat.
Let me know if you try it
If you make these cassava flour pancakes, drop a comment below and let me know how they turned out. And tell me what you topped them with. Mango, chocolate chips, guava jam? I want to know!
Recipe
Cassava Flour Pancakes
Ingredients
Method
- In a large bowl, sift together the cassava flour, sugar, baking powder, and salt.
- In a separate bowl, whisk together the milk and beaten egg.
- Pour the wet mixture into the dry ingredients and stir until just combined and smooth. Do not overmix.
- Heat a nonstick pan or skillet over medium heat and lightly grease if needed.
- Pour ¼ cup of batter onto the hot surface. When bubbles form and start to pop, flip and cook the other side until golden.
- Repeat with the remaining batter. Serve warm with your favorite toppings.
Nutrition
Recipe Printed From ThisBagoGirl.com